- 26 Posts
- 50 Comments
Joined 9 months ago
Cake day: January 10th, 2024
You are not logged in. If you use a Fediverse account that is able to follow users, you can follow this user.

 5·21 days ago
I use uYou plus. It has to be installed via Altstore (which means you have to resign it once a week with a computer needed in the same network).
But it has the best features:
- Adblock
- Sponsorblock (automatically skips sponsor segments in videos)
- allows pip playback
- shows estimated dislikes again
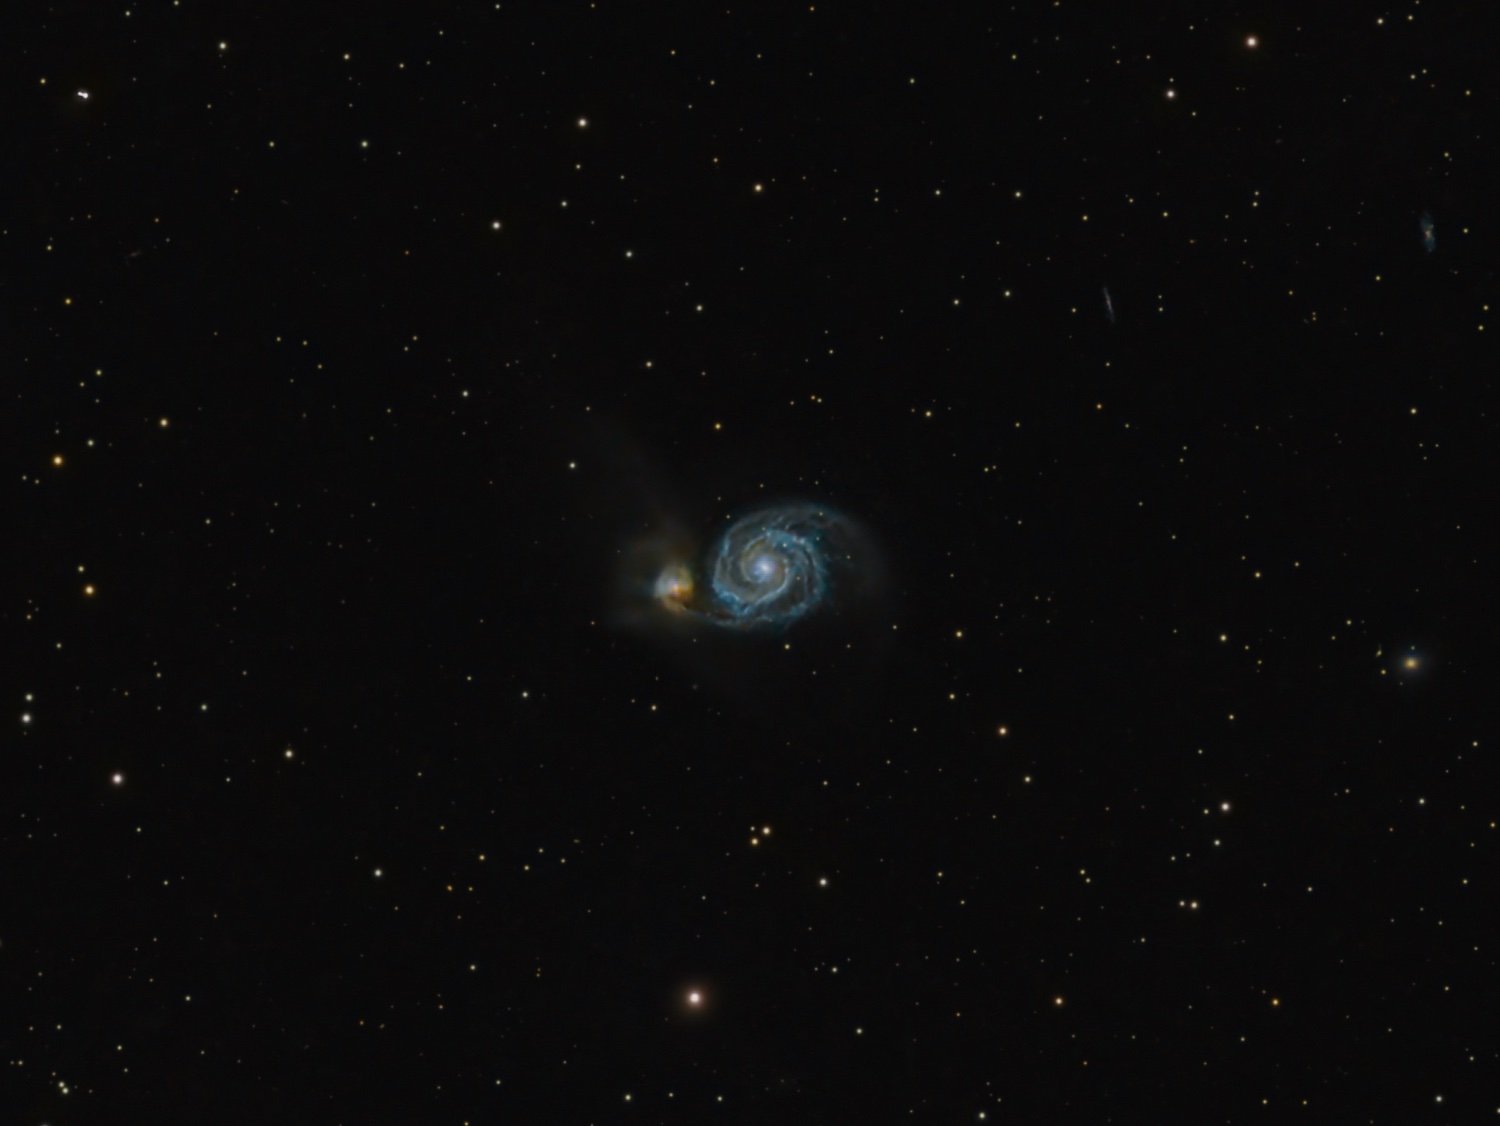
Thanks for sharing! The software worked better than expected on your image!
On my research before purchasing the program I also stumbled over your linked forum post. However I found it very misleading, as the software does not generate details learned from other images but only works with data already in your image. As it is a deconvolution tool results can deviate slightly from the true nature. But that has little to do with AI being used here. I needed a whole semester at university to truly understand the maths behind it. My biggest problem is that the software isn’t open source so one can’t look into all the details. But there are already people working on open alternatives.
But this already is a very specific problem, don’t forget that the biggest difference for good quality makes the data itself. I wish best of luck on your journey!
Oh and I forgot to mention that one other advice I would give is to search the darkest location to shoot from that you can access. Lightpollutionmap really helps with finding such places.
Edit: unstreched file with only background extraction and deconvolution: https://drive.proton.me/urls/QD4870ZMF4#uyVBYxKgWxgb
For untracked this looks not too bad. To improve I would do the following:
- in Siril: remove green noise, then photometric colour calibration
- reduce exposure length to 1s
- work on background extraction (maybe try GraXpert)
- if you are not already doing: take calibration frames, especially flats
Are you interested in sharing the raw stacked file? I use a (paid) deconvolution tool called BlurXterminator and I wonder if it can handle such extreme star shapes. If it works I will of course send you the file.
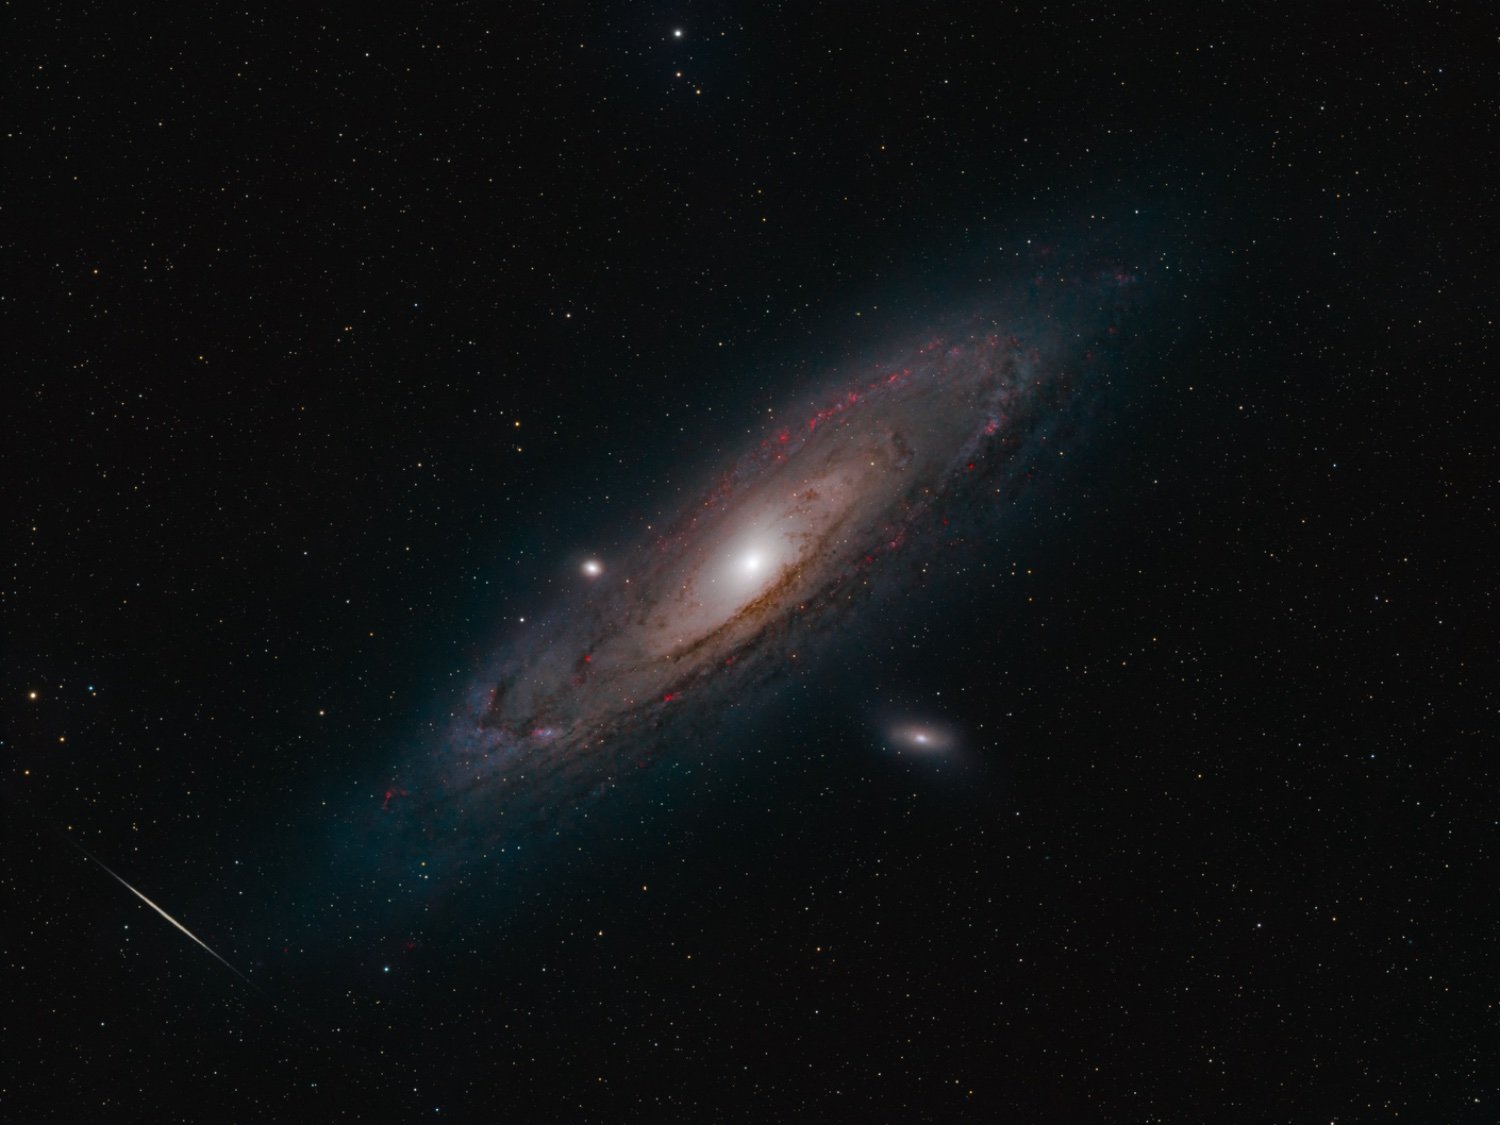
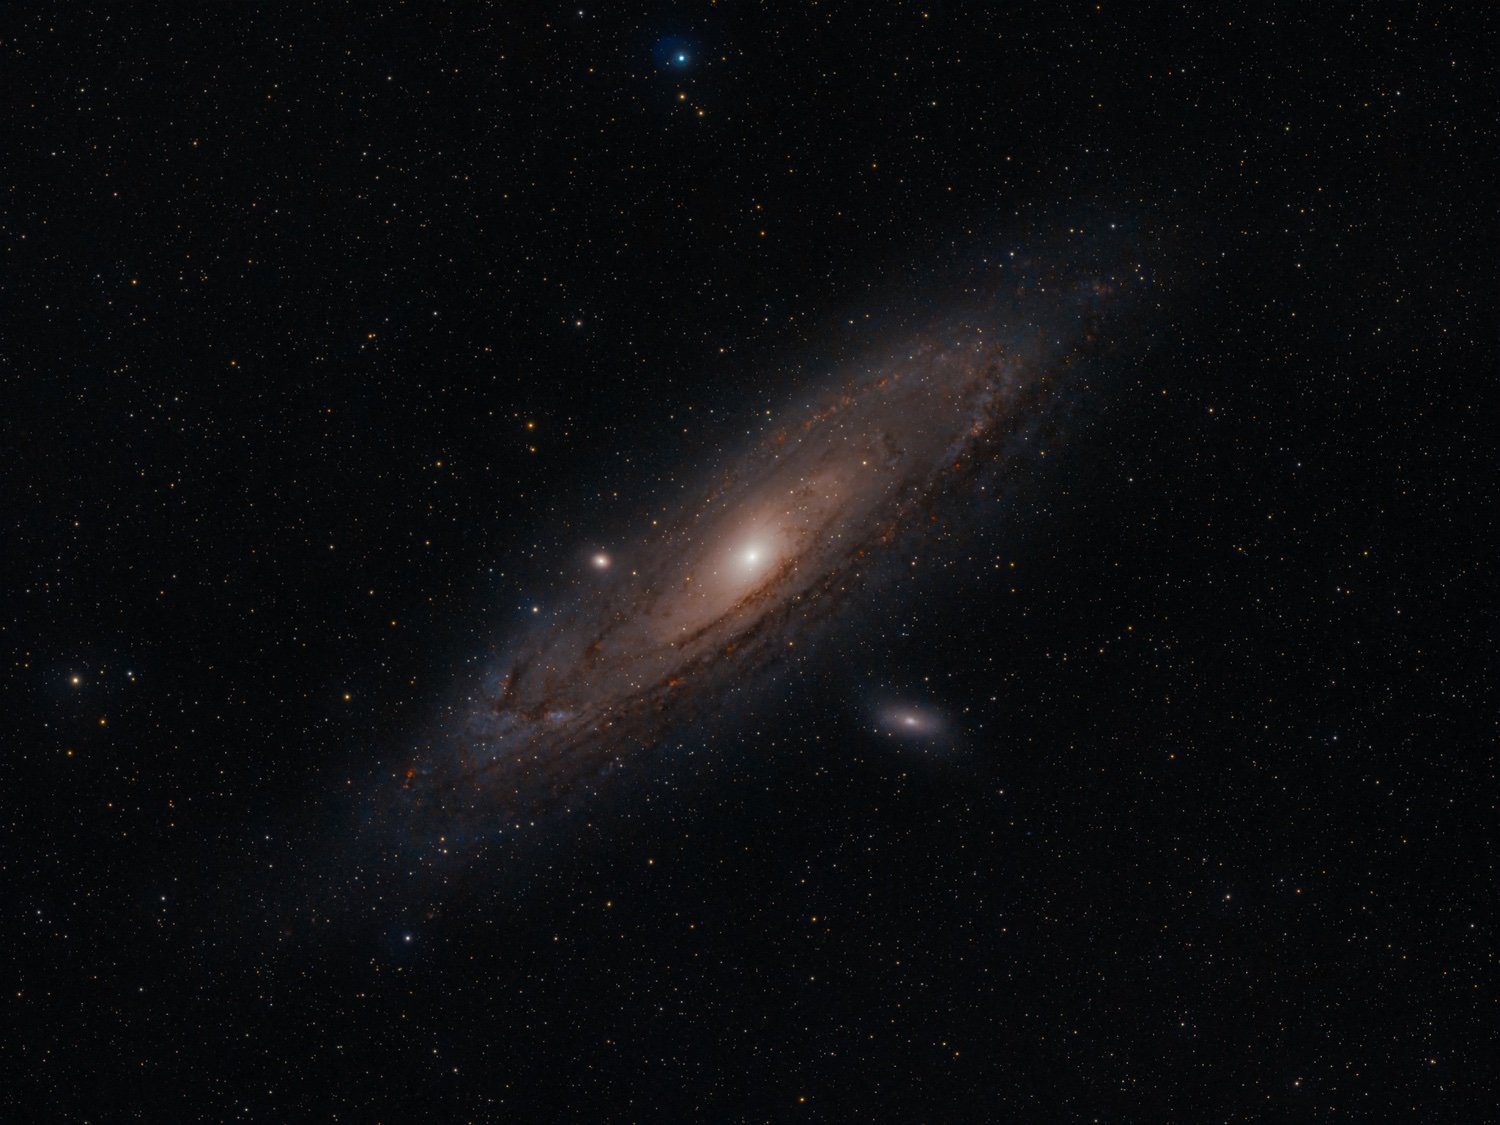
In amateur astrophotography narrowband filters are used to reveal interstellar ionized gas clouds. In this case you can see hydrogen nebulae as red blobs in the spiral arms around M31.
Well for the high cost, apart from producing them is technologically challenging, it is just simple economics. The market for these filters is still small compared to other things, so the price must be higher to compensate production and development.

We were in exactly the same situation and bought a Fuji camera. We are very happy with our decision as we can shoot both ‘normal’ photography with the feeling of a nice camera body and astrophotography on a beginner level.
The results we got so far exceeded our expectations by far, we posted some of our images here in this sub or here in full resolution .
One thing to keep in mind is that normal cameras block most of the infrared light, which makes it unsuitable for shooting hydrogen nebulae. That’s a minor reason why we eventually chose a Fuji camera, as they filter a bit less infrared than other brands.
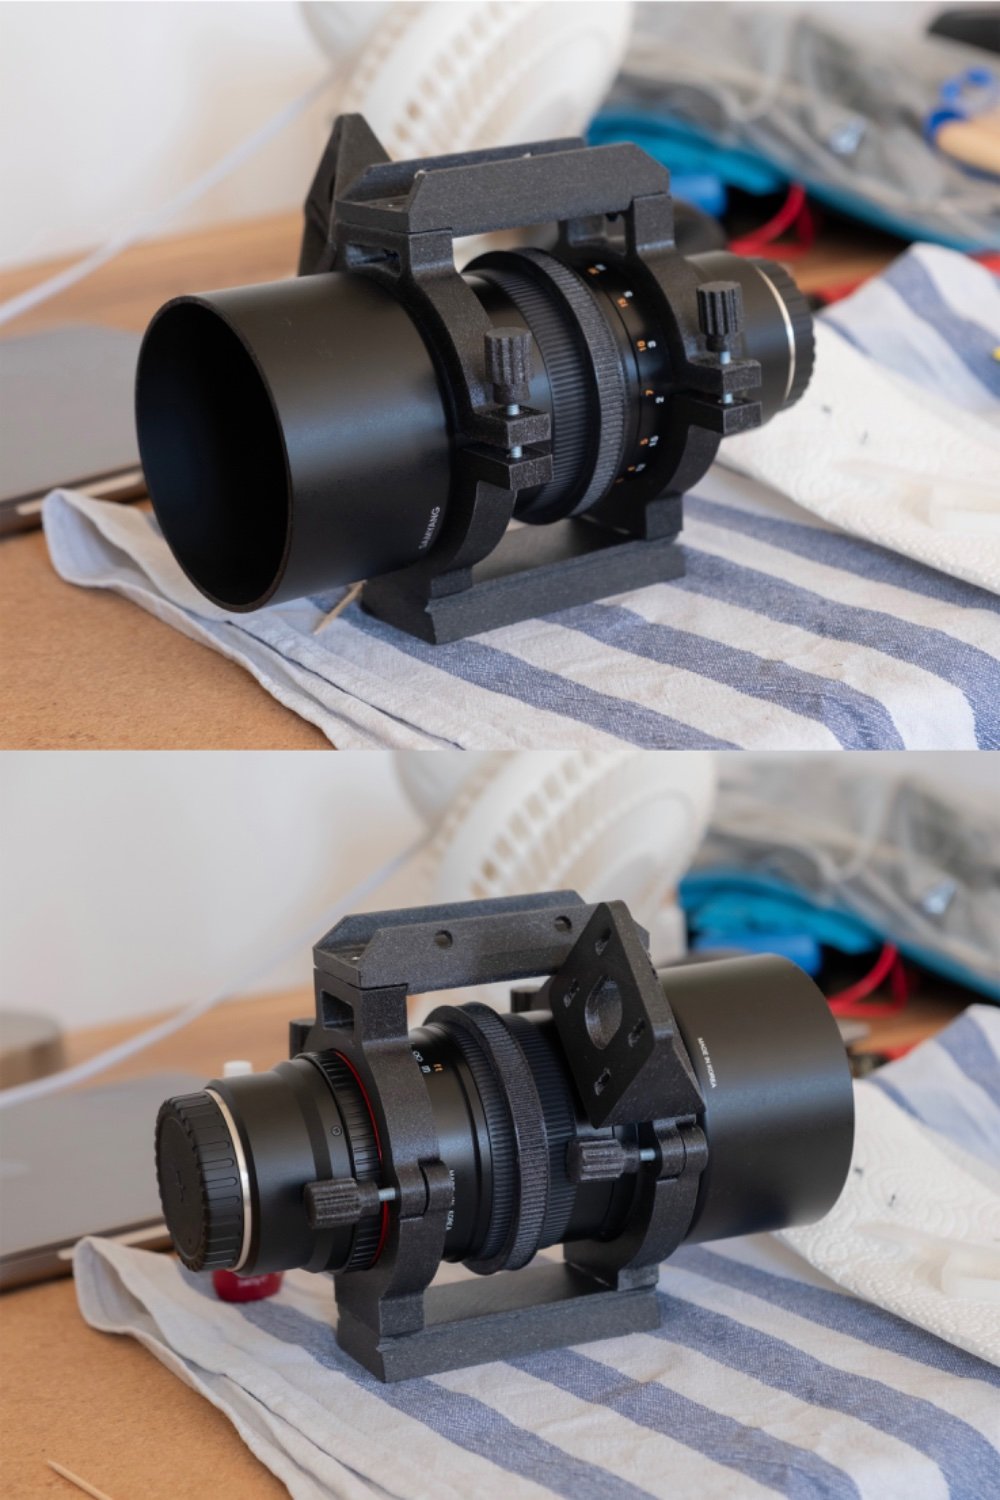
In the end the biggest impact makes the lens/telescope. After a lot of research we chose the Samyang/ Rokinon 135mm f2.0 lens. Also we found it very rewarding shooting with such a ‘small’ focal length because it forgives minor inaccuracies while giving very good results.
For us the biggest reasons for this hobby are to experience the night sky with our own equipment and learning very much (about physics, processing the data, cameras, …). Both things can be achieved with modest equipment and I would keep that in mind when comparing own images with others. Also I personally love the challenge to get the best possible results with things you already have.
Hope that helped a bit.
 2·2 months ago
Full resolution image and more details here
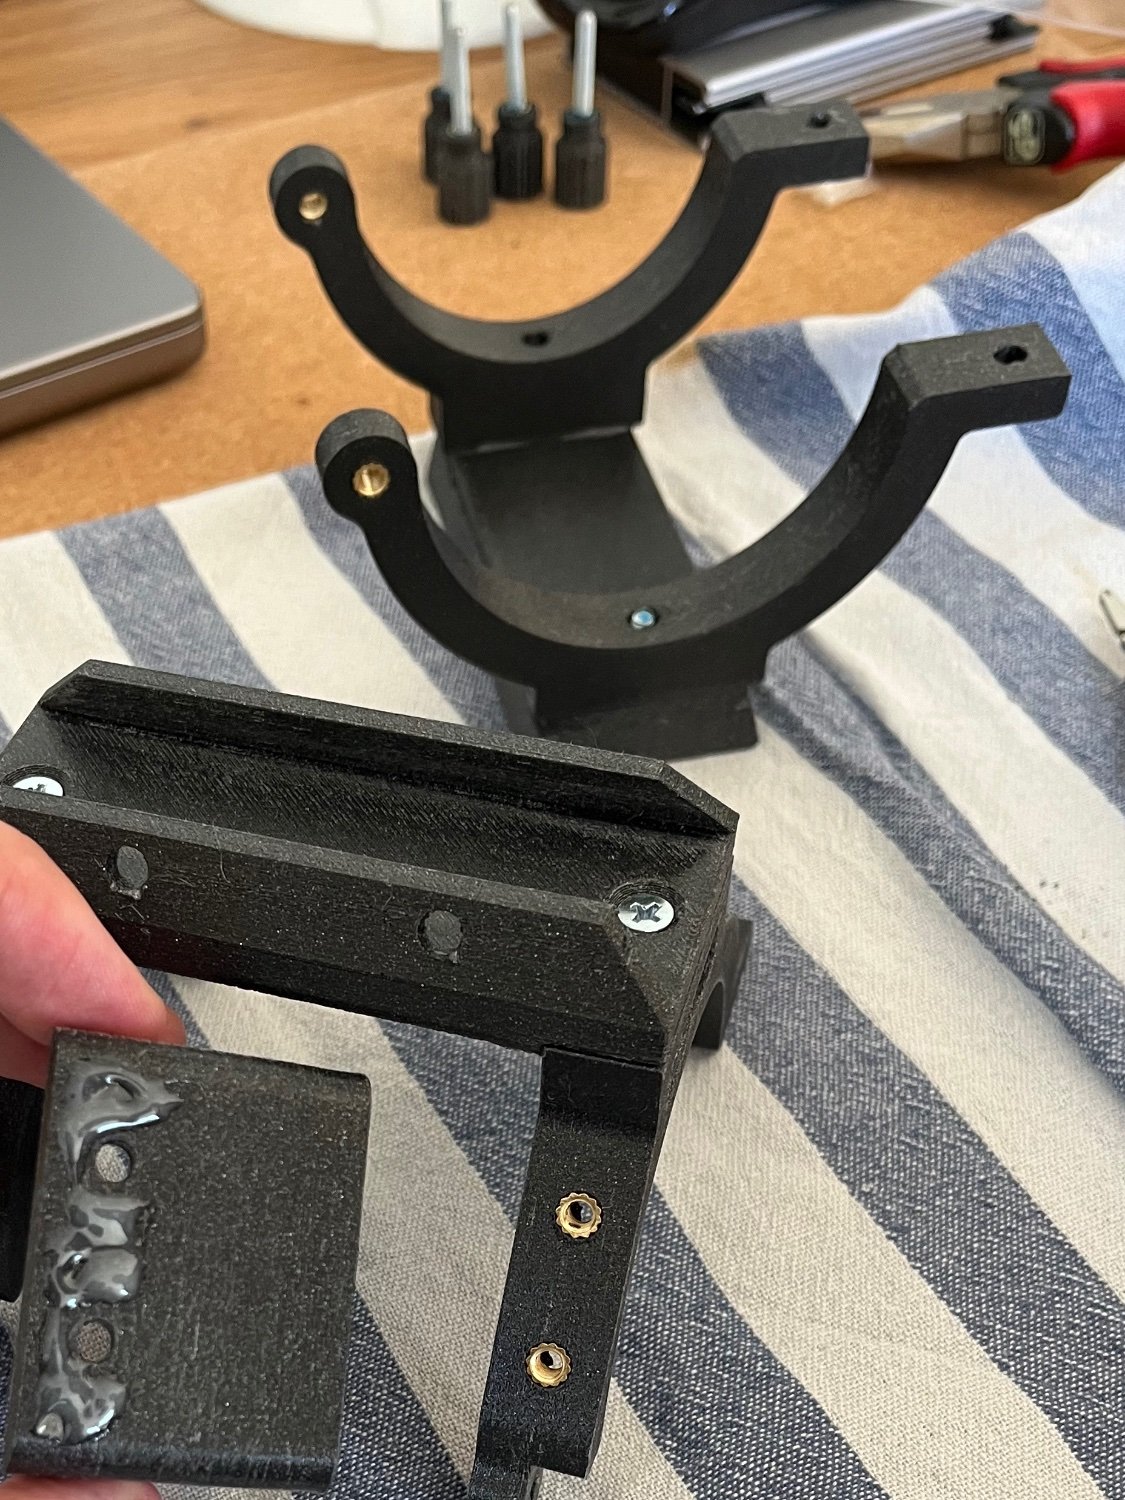
Also this is what our setup looks like to shoot such an image:

Also this is a 3d animation of our setup used to shoot this image:
 1·3 months ago
I can recommend this online telescope simulator where you can simulate the field of view with your equipment. Your 300mm lens should be absolutely perfect
This lens is incredibly sharp and produces nearly no coma. Also the image is super flat and the lens also works for full frame cameras. For its high image quality it‘s also used by some more advanced astrophotographers.
As I bought it new for 400€ this was a no brainer because we can also use it for ‘normal’ photography.
I‘m sure your lens works well for many nebulae!
Thank you! Andromeda is way bigger than most people think. That’s the reason why it is a very (maybe the most) popular target for beginners. Also there went a lot of processing into the image, so don’t let the image deceive you from the actual conditions where I live (Bortle 5 zone)
The lens is the telescope in this case. But as the focal length of 135mm is fairly short it works best for objects appearing very large in the sky. Astrophotography can get very expensive very quickly, so we try to make the most out of the equipment we have. Just like with the 3d printed mount.
The Samyang 135mm f2.0. In some markets it‘s also called Rokinon
Thank you! I agree, it really is an amazing topic.
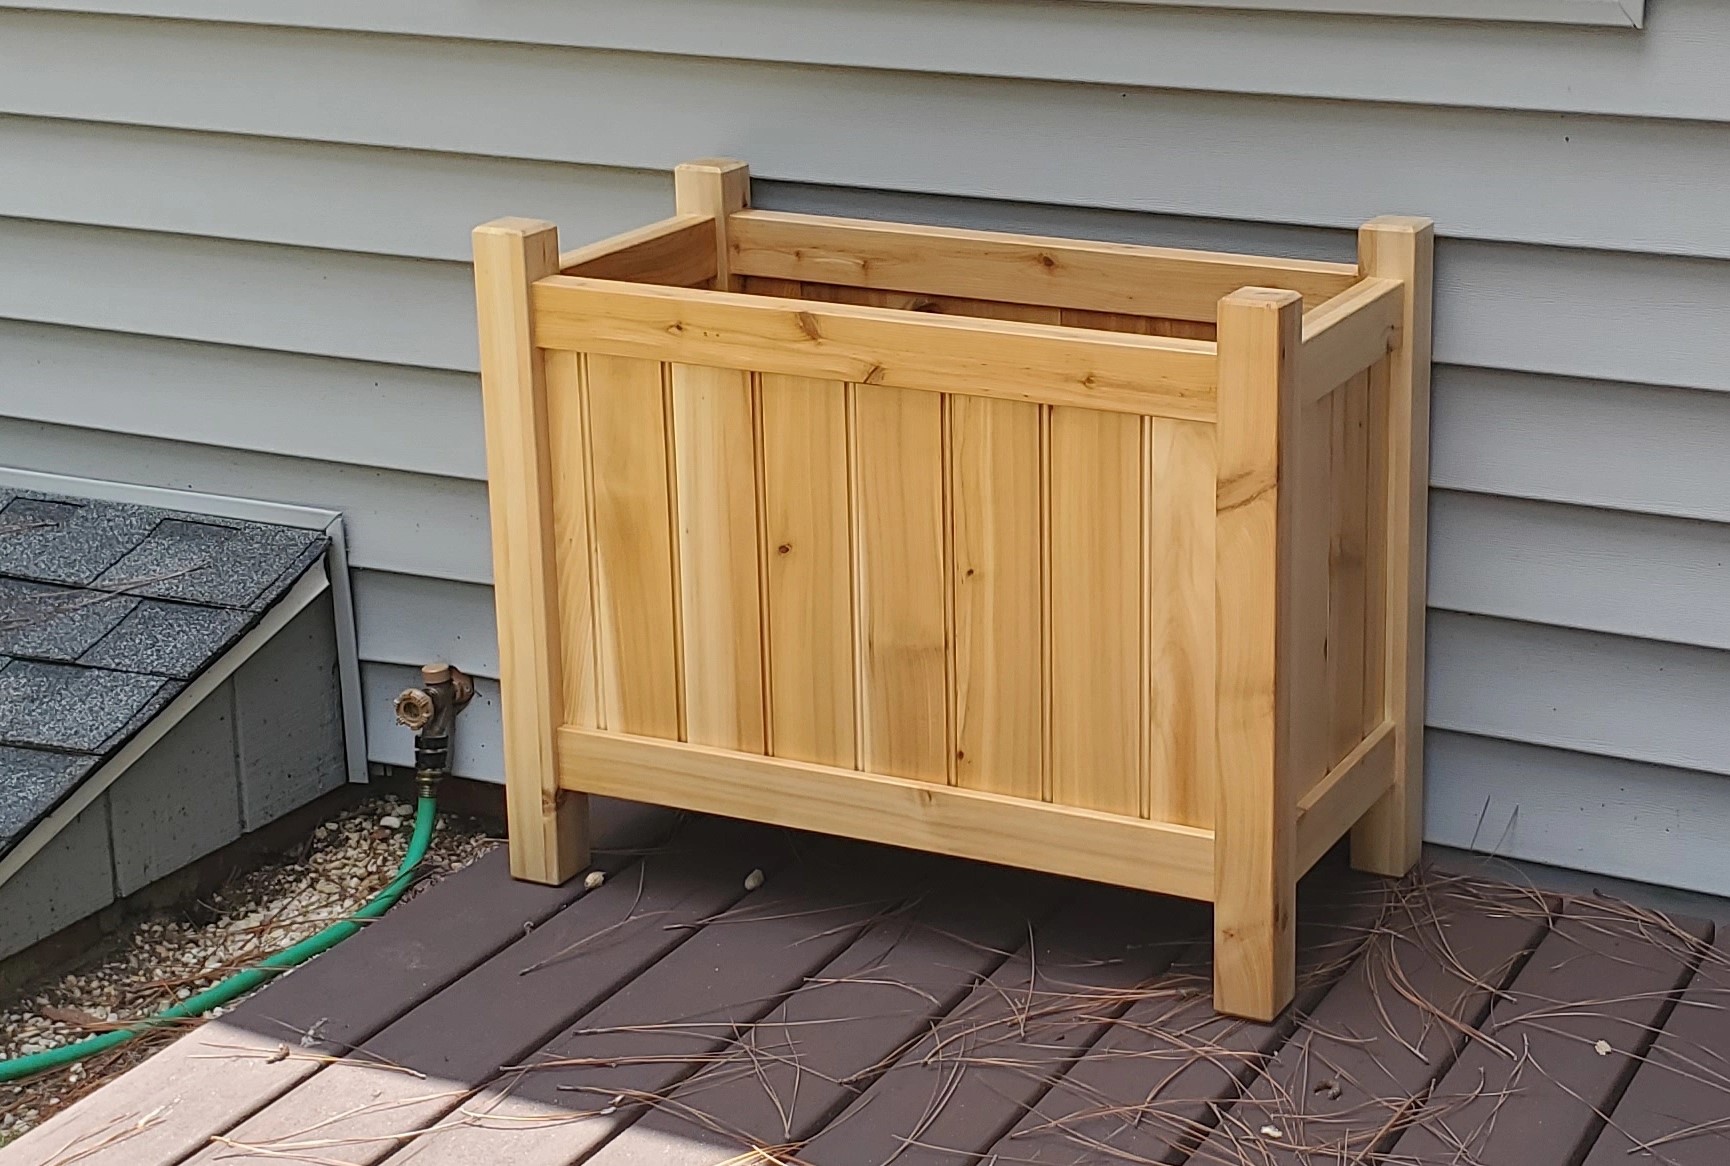
Glueing and screwing the parts:
One result shot with this mount (and many other accessories):
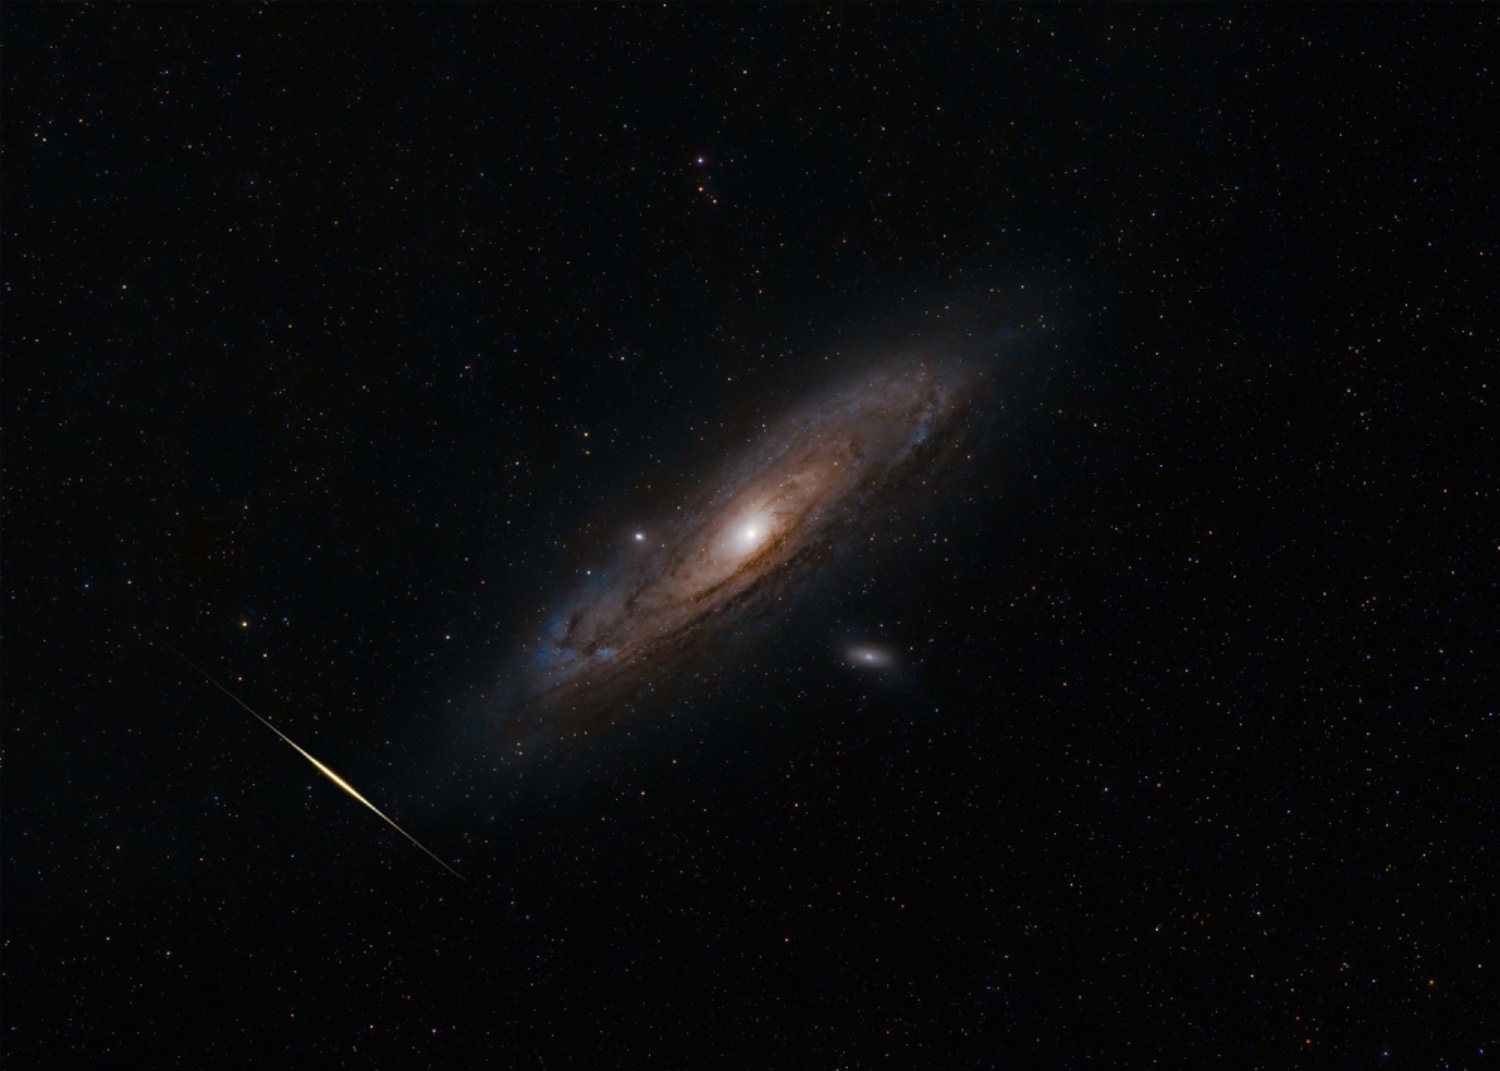
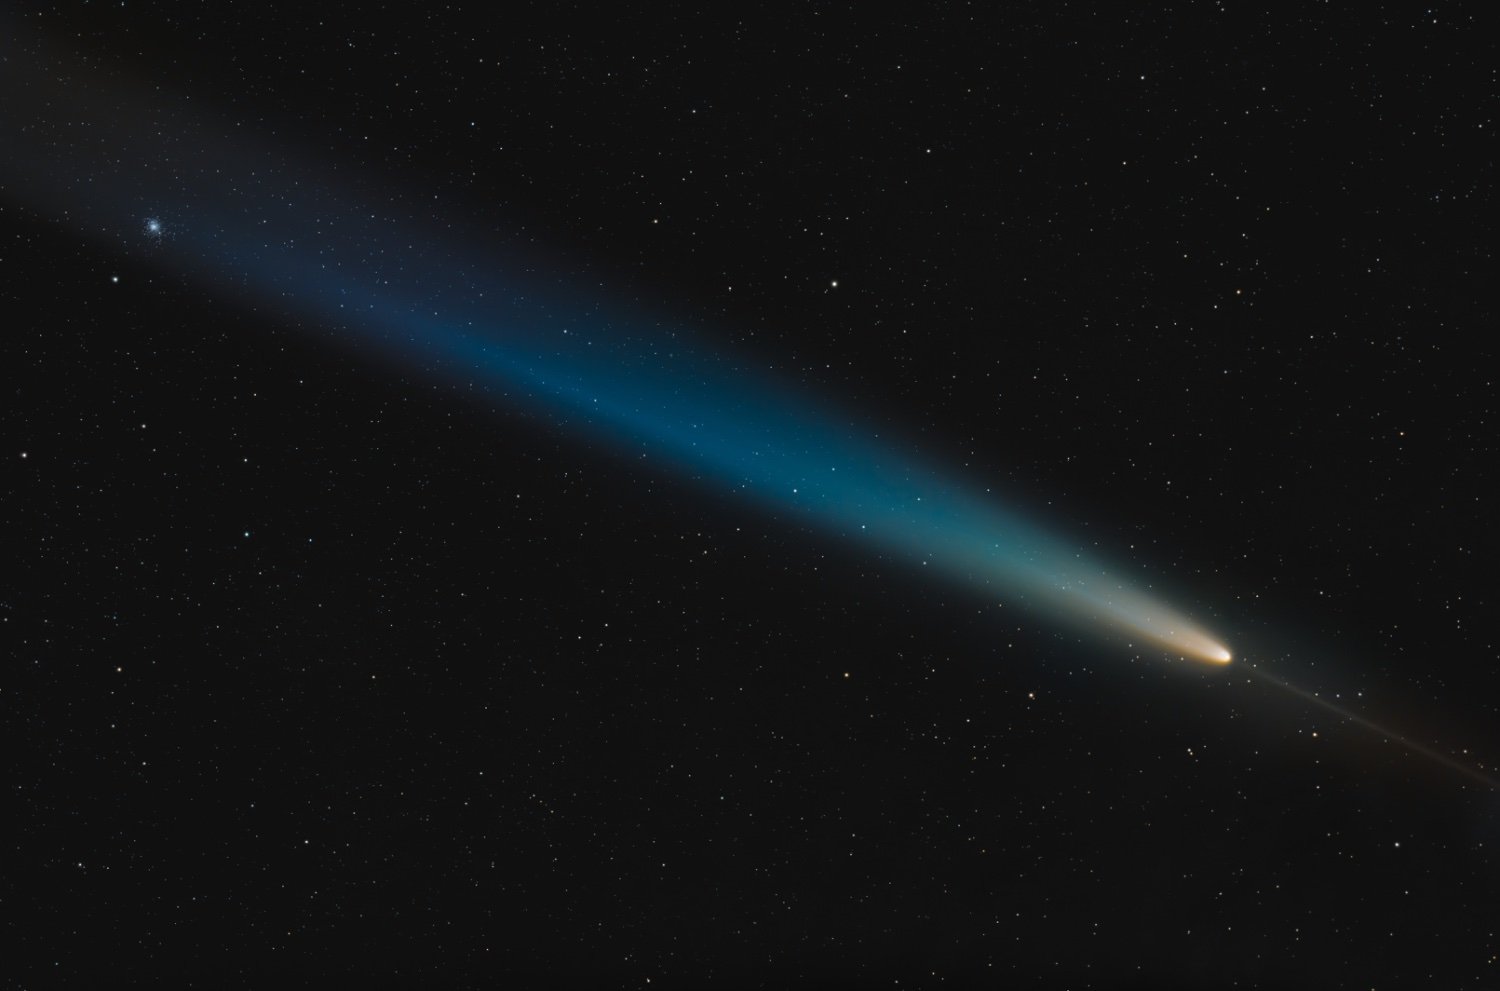
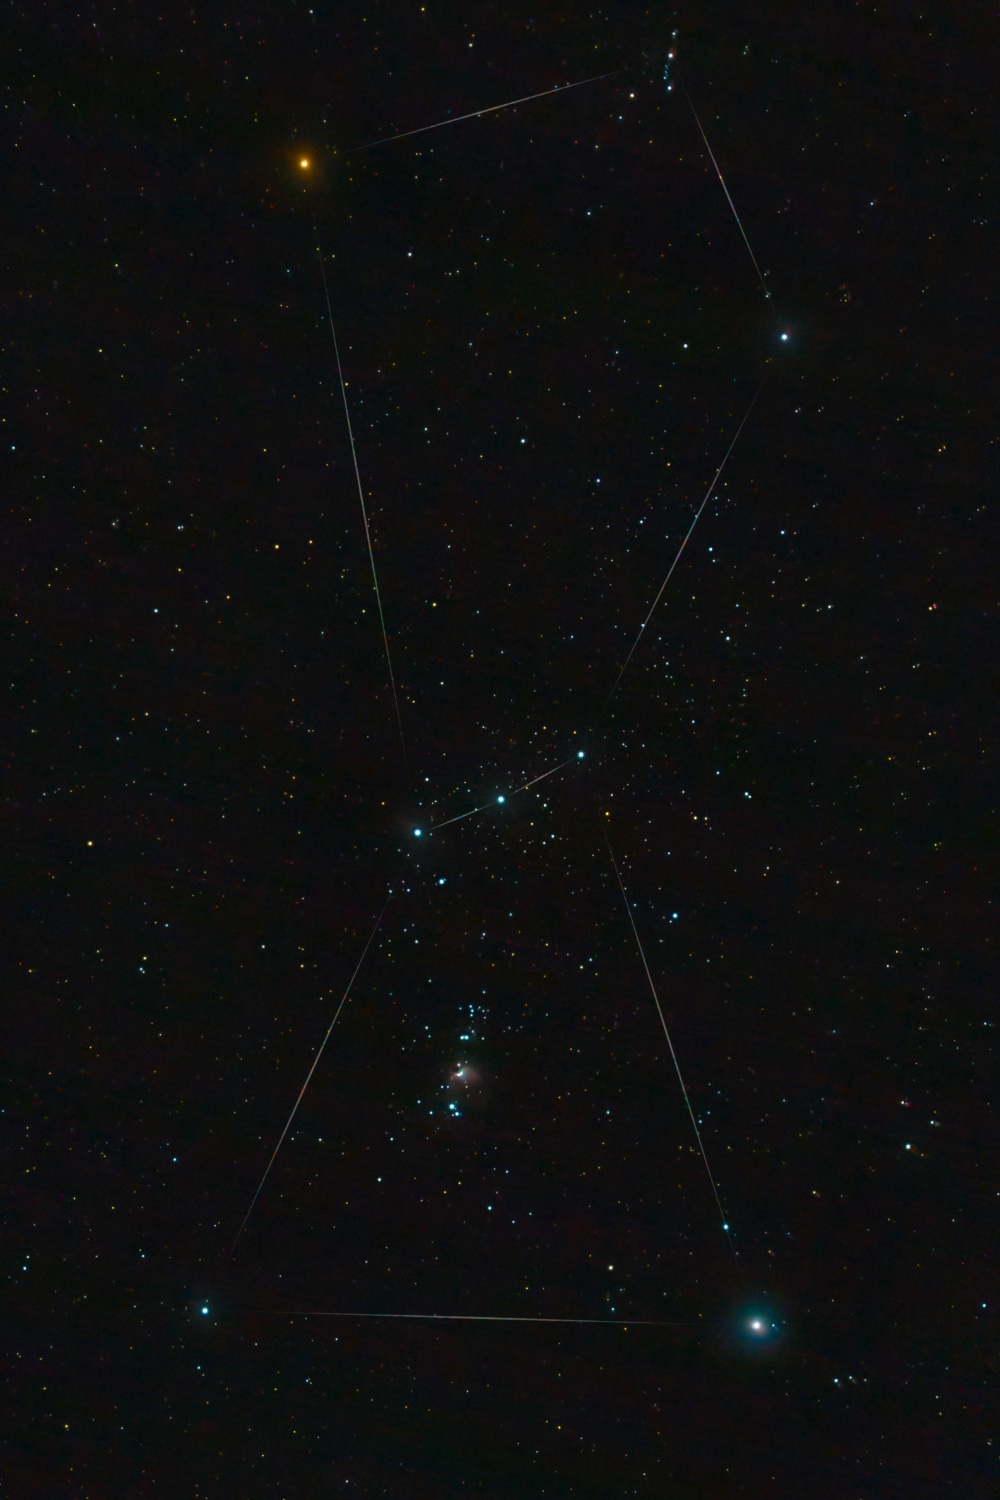
Very interesting, thank you for sharing. Your linked gif makes it very apparent that it was indeed a satellite.
I also searched in Stellarium and found a decommissioned military satellite called STSS Demo 2 that fits the path and time stamp perfectly.
-9 magnitude is insane, must’ve been a very cool sight.
Ha, thanks for letting me know. I didn’t know satellites can create flares like this. As all the other satellites were so dim I assumed it had to be something different.
For editing I chose the single sub with the flare and screen blended it in photoshop.
 2·4 months ago
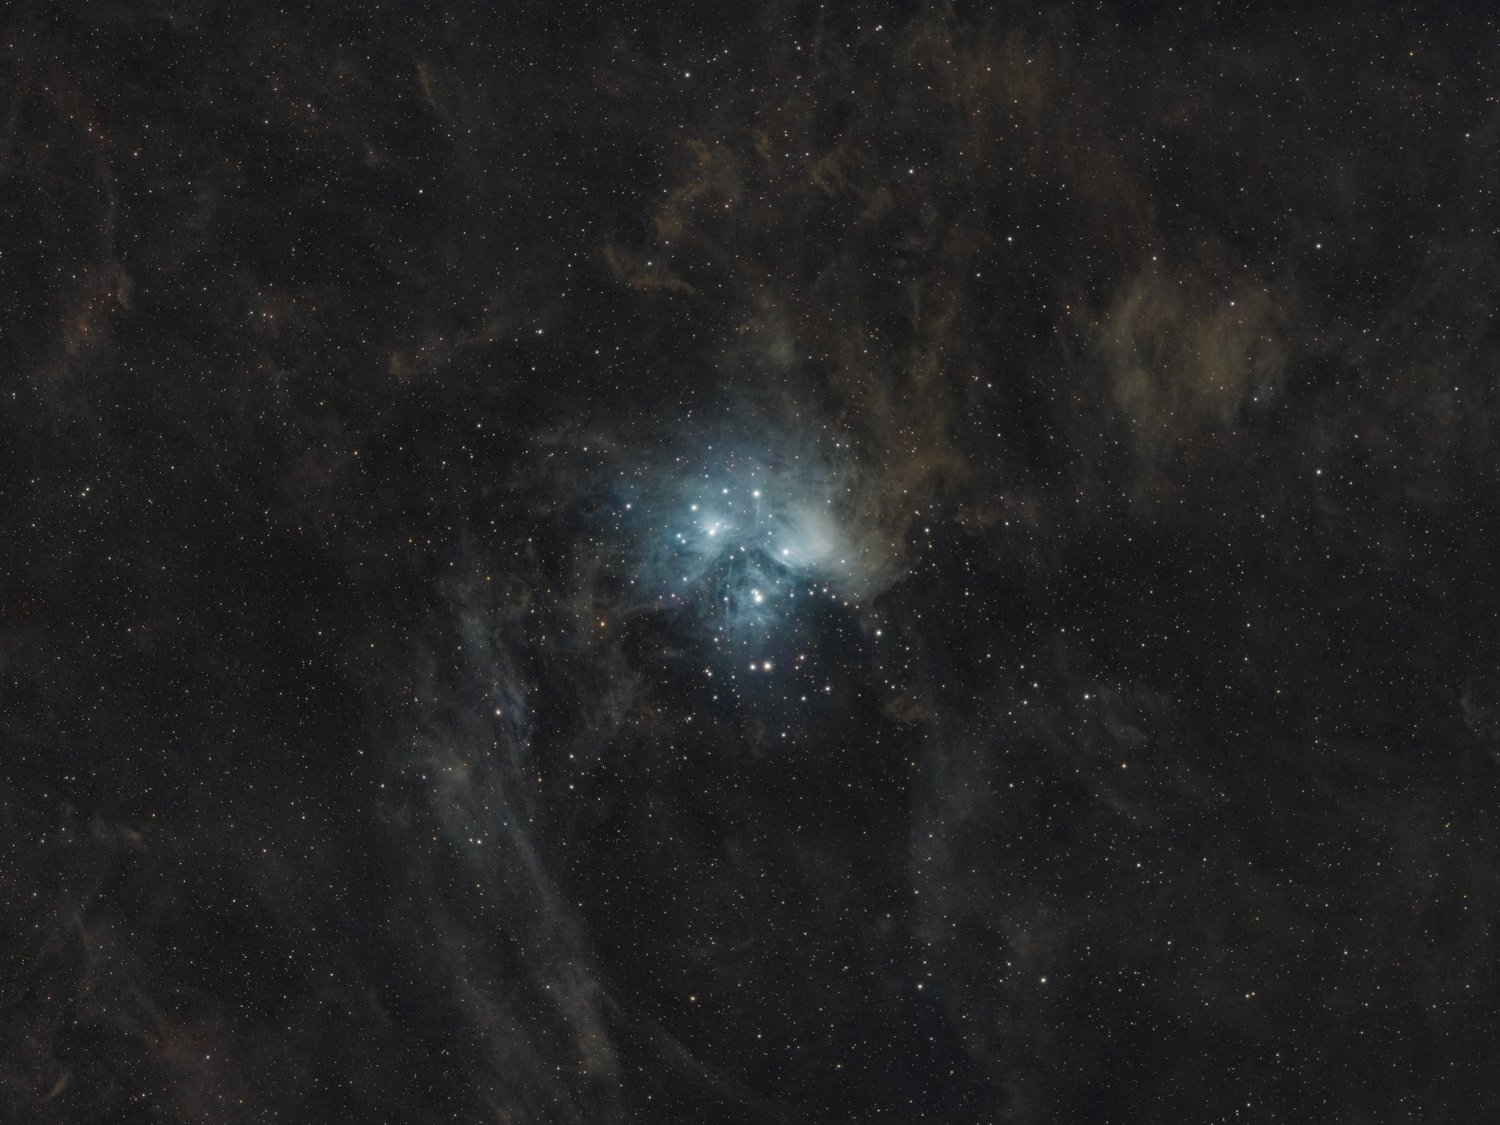
Beautiful, thanks for sharing!

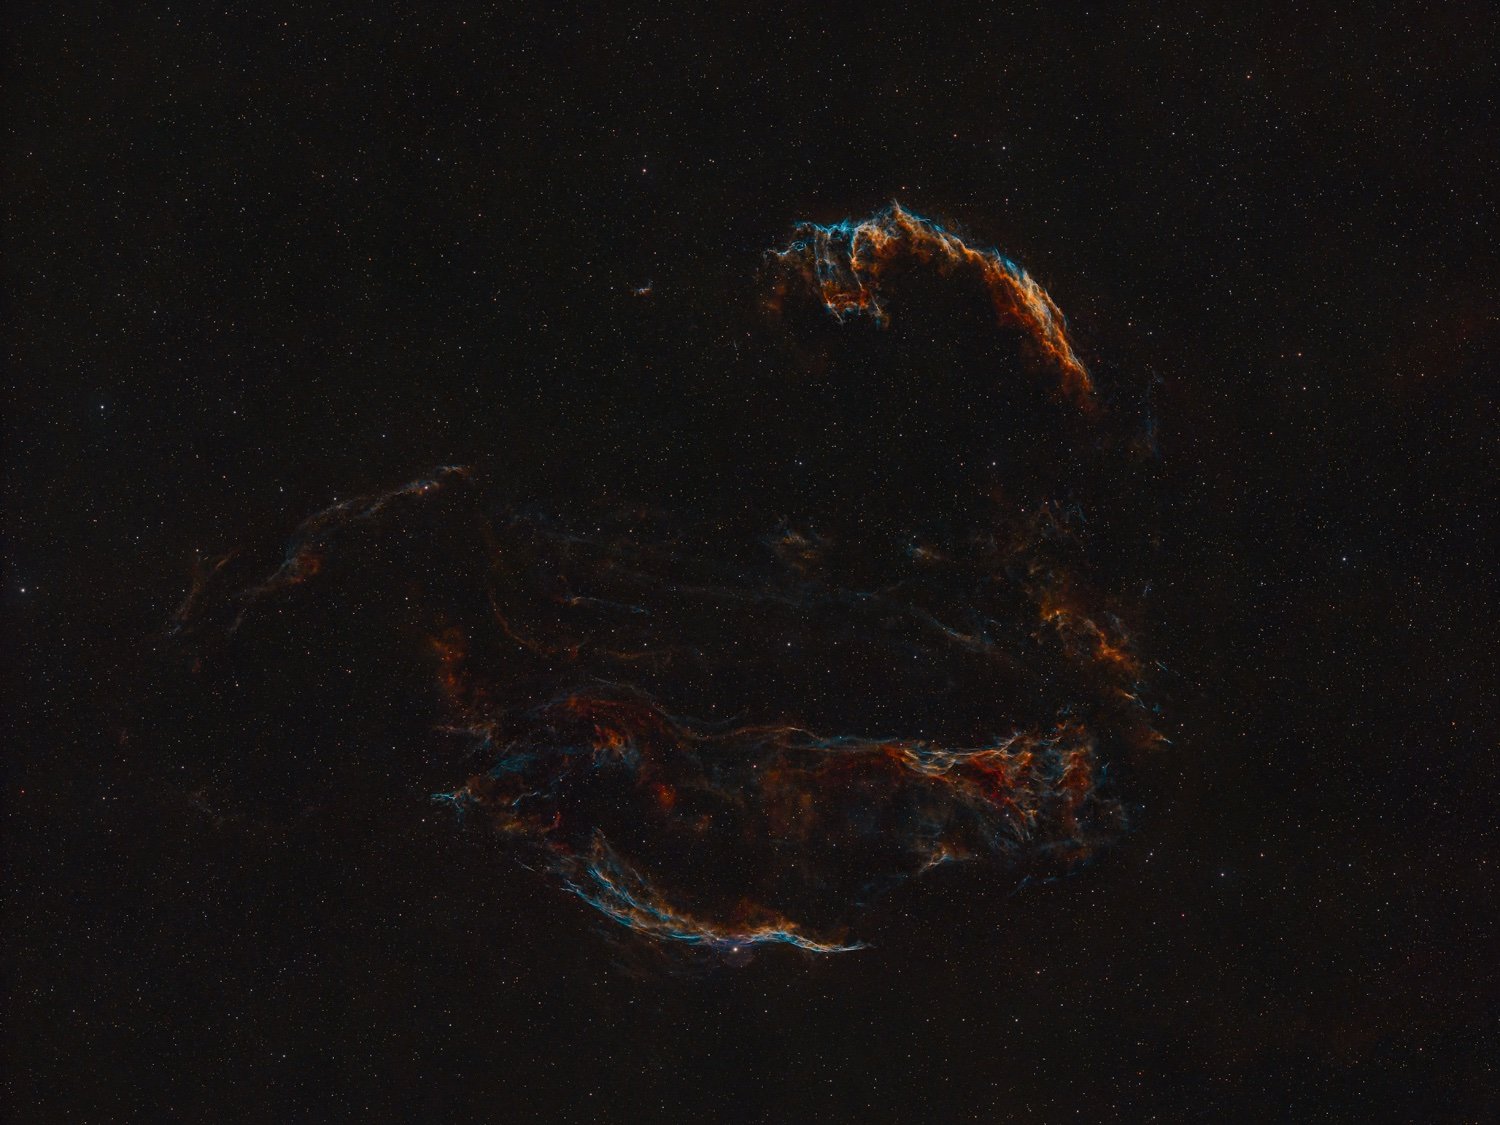
Yes, I used Siril for stacking/ stretching, Starnett++ for star removal (to edit the glimpse of orion nebula a little better), GraXpert for gradient and noise, and BlurXTerminator for deconvolution. Final editing was done in Photoshop.
So heavy editing indeed…

Thanks!